Scrapbooking is one of those things that seems really intimidating to some
parents. We take tons of pictures of our children every year and they grow up
so fast! It’s so hard to keep up with their milestones while making stunningly
beautiful and unique pages to display it all! I have been scrapbooking for years.
When my children were born, I had to figure out how to cram all the milestones
and pictures I could into their books while still making them beautiful works
of art that my children will cherish when they are older! Here are some of the best scrapbooking tips I
have discovered over the years!
1.
Keep it simple.
The first and most important realization I have come to is that every page doesn’t
have to be a masterpiece. There are some people who are crafty with paper, and
enjoy making each and every page of their scrapbook a glorious and detailed
work of art. But most of us don’t have the time or the patience to work on a single
page in a book for too long. Instead, make a few pages stand out, and make most
of them simple or even sort of plain. Keeping a majority of the pages in your
scrapbook simple allows your children to really shine from within its pages.
2.
Use smaller pictures.
I can’t really fit more than three or four 4x6 photos on a 12x12 scrapbook
page. I also have so many pictures I want to include in my scrapbook that it
would take 4 books to just get through documenting my baby’s first year of
life! To save space, and include more content in each book, 90% of the pictures I include
are wallet sized. I print these using my home computer because I believe at a
photo lab you usually have to order an entire 8x10 sheet of wallets for each
image you want. I only have quality 4x6 photos printed of my favorite pictures
or the most important milestones.
3.
Don’t skimp on the journaling!
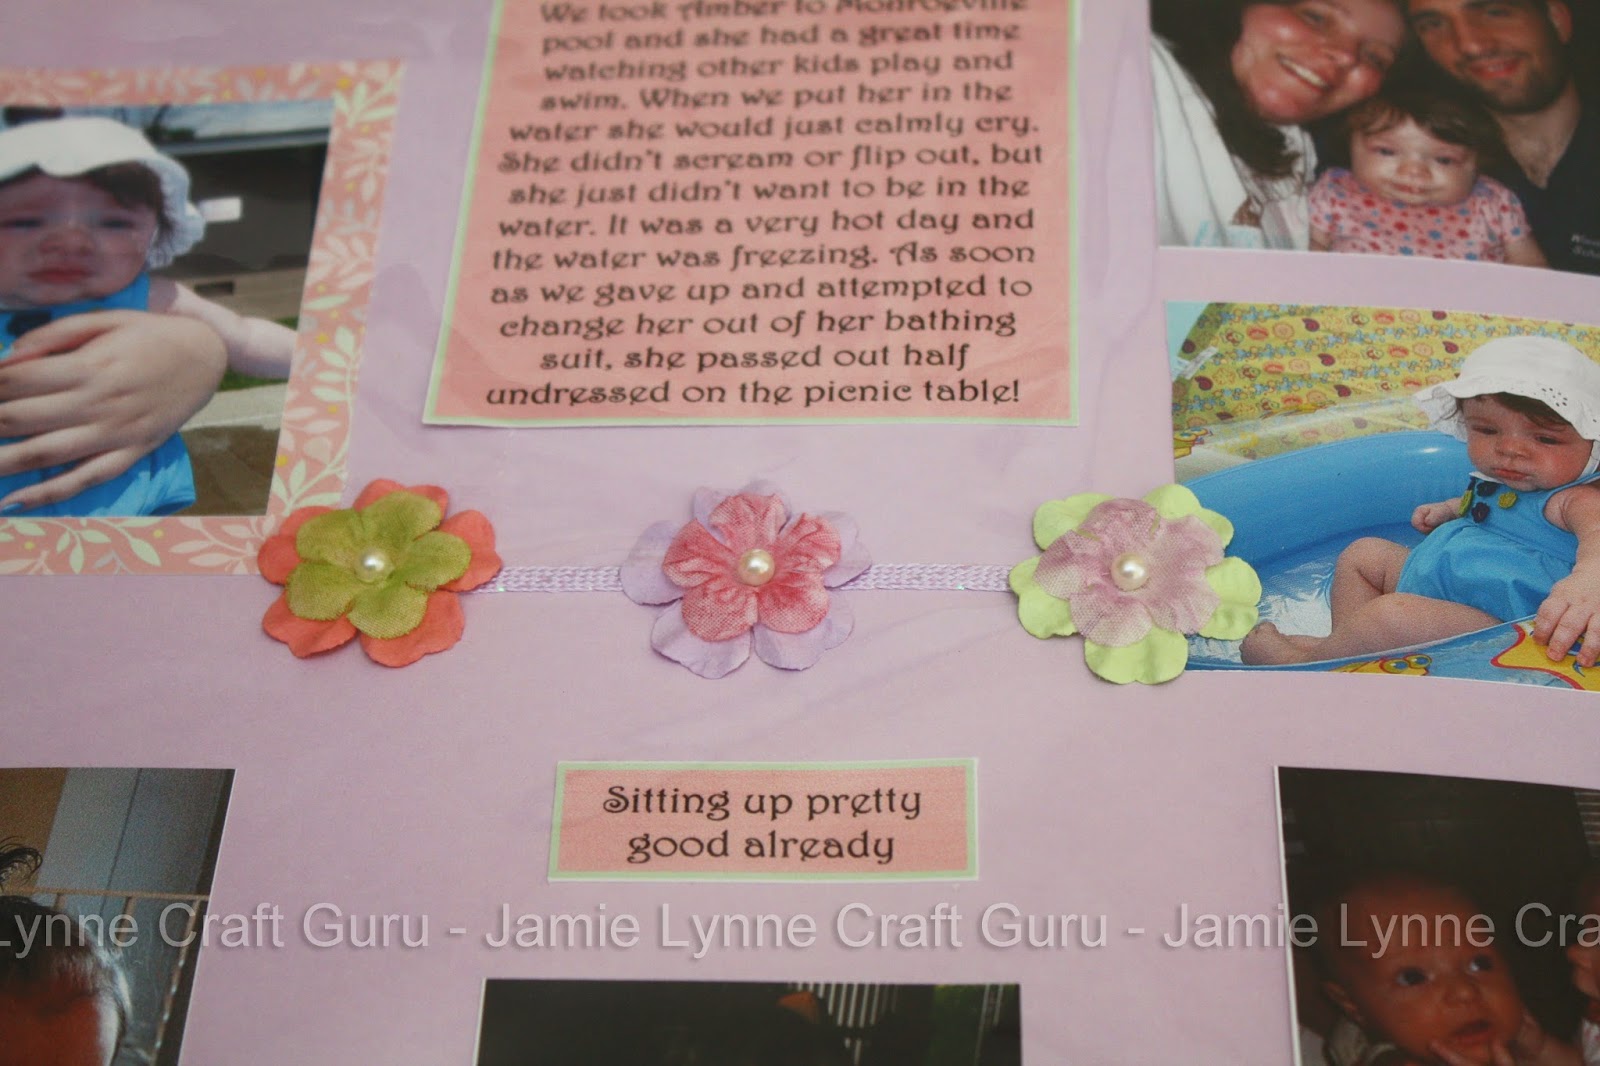
I want the scrapbooks I make for my children to be more than just pretty
photo albums. I want them to tell the story of their lives. And just the most
important bullet points won’t cut it for me. I want to document the silly
little things that can’t be caught on film. The funny way my daughter cried
when she was first born. “nnn-gaaa-aah”, how she loved to stand on kitchen
chairs to reach the important papers under the magnets on the fridge at 14
months, the way she squealed with delight every time she saw the moon at night “Mommy!
The moon is following me!”
Using the wallet sized photos really allows room for a lot more journaling.
Just a few words or a short sentence as a caption is usually enough for me.
4.
Take advantage of technologies.
One of the reasons that parents have so much trouble scrapbooking is
because they are busy taking care of their children all day and they are too
tired to focus on it with their leisure time. I overcame this problem when I
started planning my layouts on the computer. Most of the time and effort I put
into my scrapbooks is dedicated to choosing photos, designing layouts, and
journaling. This way I can get a lot of my scrapbooking done on the occasions
when my children are enjoying a movie, playing nicely together, or napping.
These events are usually short lived, and by the time I get all of my paper and
pictures and stuff out, the kids are back to chaos and I barely got anything
done! Also, the act of getting out any craft supplies gets their attention and
it turns into kiddie craft time instead of mommy craft time! Working on the
computer draws less attention from the kids and it’s easy to leave it and come back later and
pick up right where I left off.
I use my computer to store and organize my photos, so I create folders for
the pictures I want to include in my scrapbooks. I also use Microsoft Word to
design the layout of my pages. I just set the page size to 12x12 and paste my
images that have been cropped to wallet size (or just make wallet sized squares
and put them where you want your images). I create text boxes for my
journaling, and I write all the stories I want to include, and align them where
I will include them on the pages. This
makes it easier when I do find the time to get out the craft supplies
(typically when my girls are sleeping). All the thinking, planning and writing is already
done, and I paste and scribble while I catch up on my shows!
5.
Don’t waste money on fancy embellishments.
I love craft stores! And I can spend hours looking at all the stickers and
flowers and fancy scissors and hole punches and stamps and expensive tools! But
I only ever buy some when they are on sale- or they are just too perfect to
pass up! Instead, I use Microsoft Word to make my own “stickers” by editing and
printing free clip art! Here is my Tutorial : How To Edit Microsoft Word Clip Art If you right click on the clip art you have selected,
most of them can be edited and you can change the colors to match the page you
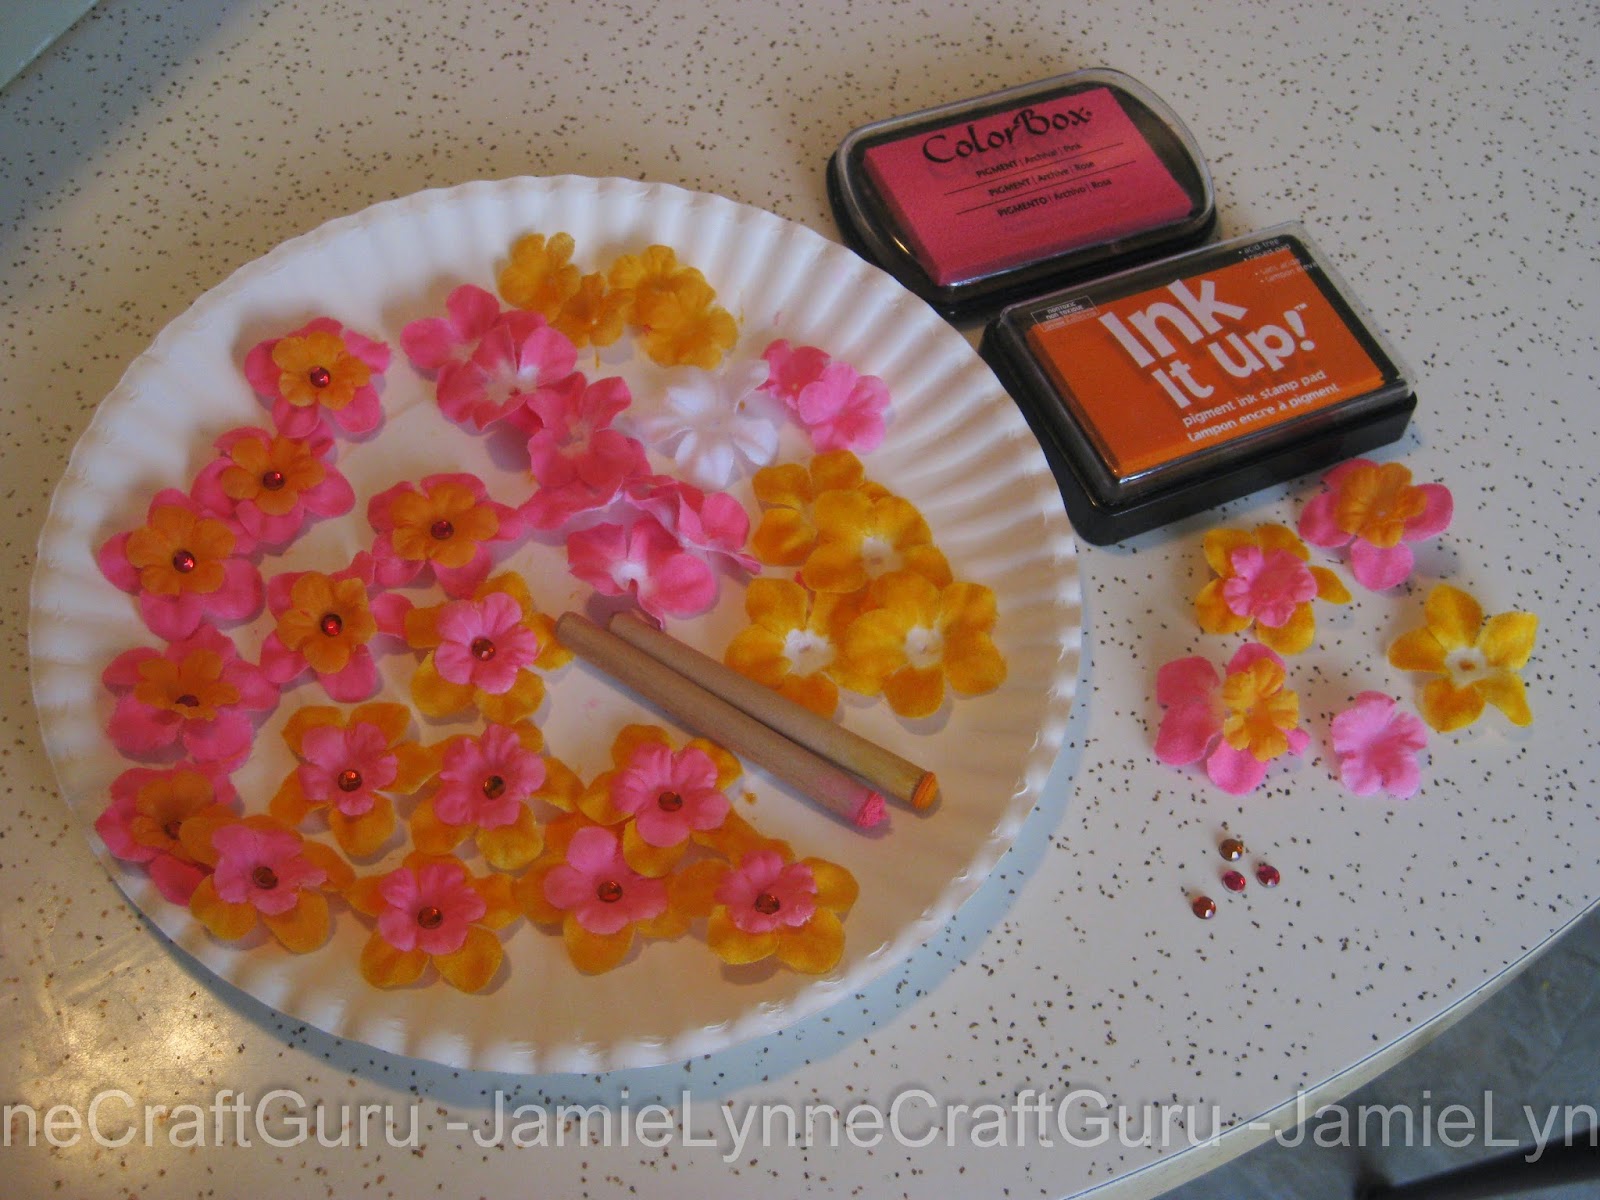
plan to use it on. Another way to save money is to buy white embellishments
(flowers, ribbons) in bulk and dye them with ink pads! If this idea intrigues
you, check out this video of a very talented paper crafter demonstrating some amazing
techniques! She starts making embellishments about at about 3 minutes into the video.
And here are some pictures of silk flowers I have dyed. I recommend trying to find flowers you like in the floral section of the store and pull them apart. They can be a lot cheaper than the flowers you can find in the scrapbook section!
6.
Use adhesive tape runners instead of glue sticks.
This one is probably not news to anyone who has done any scrapbooking
recently and is no longer in kindergarten! But I have tried most of the
adhesive tapes in my local craft store and my favorite is This to That Solid Adhesive
Runner (the pink one). I find it sticks really well, but it’s not too sticky. I
can often remove and reposition things on my page with little to no damage to
the background page. And a little goes a long way!
7.
Buy Scrapbooks with expandable spines.
I want to include as much as possible in each of my scrapbooks, so that I
don’t have a closet packed with books that no one ever has the time to look at
when my kids are grown. In the scrapbook isle in the craft store, you can find
the 12x12 clear sheet protectors just like the sleeves inside the scrapbooks.
Most of these packs contain little screws for expanding your scrapbook to fit
more pages. You unscrew the ones on your book and add one of the expanders onto
the screw, add more clear pages and screw it back together. You can make your
scrapbook much bigger this way! Be careful when picking out your book. Be sure
to get one that has a spine that can be expanded. Some of the cheaper books
have spines made of only paper, and the paper is not wide enough to allow more pages.
8.
Keep it balanced.
A good layout is one that is balanced and draws the eye over the entire
page. To create balance, align your pictures symmetrically with larger pictures
on the outside. Overlapping pictures can be cute, but it can easily be overdone
and can cause your book to become too chaotic. Try to space out your pictures
evenly and balance it out with larger embellishments. Get a little crazy with
the smaller embellishments or stickers that won’t throw the balance off too
much.
I hope these tips encourage anyone who is intimidated by scrapbooking to
give it a try! Stick to what you know!
If you are computer savvy- or into
graphic design – or like me, you have mastered the formatting capabilities of
Microsoft Word- Try some of these more intricate techniques I use:
I go to some extremes to make my scrapbooks look good while still being color
coordinated and save money while doing it! The only thing I spend much money on
for my scrapbooking is the 12x 12 papers. I buy a scrapbook paper “stack” I
like and I take it home and get out my computer. Within Microsoft word, I make boxes
and try to match the fill colors to the colors in my paper stack. I print them
out and adjust the colors and tweak them until they print out as close to the
colors in my paper stack as possible. Then I use those colors to fill and
outline my text boxes I described using for my journaling. I print those right
out and paste them into my scrapbooks, instead of writing out all of my stories
again. I also use those colors to edit the clip art I use to make my own
stickers.
Here are some examples of the stickers I have made for my scrapbooks:


