Pages

Monday, July 21, 2014

Tutorial : How To Edit Microsoft Word Clip Art

 One of the biggest ways I save money while scrapbooking is by making my own stickers and embellishments! These can get very expensive at the craft store. Especially if you want to add texture and dimension with them. I like to use Microsoft Word clip art instead of buying expensive stickers! The library is pretty extensive and I find almost any image I ever look for! Here is a tutorial describing how I edit the clip art to match my scrapbook colors.
 
First of all, if you plan to use Microsoft Word to design your layouts, you will need to change the page size to the size of the paper you will use in your scrapbook. (Typically 12"x12") If you are only using this tutorial to edit clip art and not to design your layouts, it is not necessary to change the paper size. Click the tab that says "Page Layout", click "Size" and a drop box will appear. Choose your paper size. On my version of word, 12x12 is not listed so I select "More Paper Sizes..." at the bottom.
 
 
Enter the dimensions you want. I entered 12" by 12". Select OK.
 
 
To open the clip art library, Click the "Insert" Tab, click "Clip Art". A Library toolbox will appear on the right side of your document. Search for the picture you want.
 
 
I typed "Baby Toy". make sure "illustrations" is selected in the "Results Should Be:" drop box. You can also select "Pictures" or "All", but I prefer the illustrations for stickers I make. Click on an image you like and it should open on your page. Right click in the image and select "Edit Picture". Some clip art files are not editable and the option to edit will be greyed out. If this happens to you, try another picture. I believe most of the illustrations are editable though! 
 
 
On my version of word, a pop up box usually appears asking if you want to convert the image to a drawing object. Click "Yes".
 
 
A box will appear around your image and each of the little shapes that make up your image are now selectable. You can click on any of these shapes to move, delete, or change the size. Right click on them to change the fill color and outline color. On some images, the shapes are so small that it's hard to tell which one you have selected. If you make a mistake, use the "Undo" option. Zoom in as close as you need to.
 
 
I deleted the purple background shape and the sparkle shapes, and I changed the colors to match the page in my scrapbook I plan to use it on. Play with it a little- you can select anywhere in the rainbow box and drag the arrow up and down the lightness bar- have fun! You can also click the "Standard" tab and click from a section of other colors.

 
When you are happy with your newly designed image, click and drag to select every shape that makes up your picture.
 
 
Right click on any shape and move your cursor down to "Group", Then click "Group". Be sure to click on one of the shapes , if you miss- it will deselect everything. Then you can just click and drag again.
 
 
Now all of the shapes have become one complete image! Right click this new image
 and click "Copy".
 
 
You can now paste your newly edited image anywhere within word!  Click on the grey box around your drawing object to delete it. Print them on cardstock to make embellishments for your scrapbook!
 
 
I haven't tried this yet, but maybe you can add glitter!! I am sure you can paint on a little Elmer's glue and sprinkle glitter on, but in the near future I plan to try clear glitter fingernail polish and maybe a glitter spray paint or mod podge.
Happy editing!! :)
 
Coming soon - Tutorial describing how I turn the printed clip art into stickers.


8 Scrapbooking Tips To Save Time and Money!

Scrapbooking is one of those things that seems really intimidating to some parents. We take tons of pictures of our children every year and they grow up so fast! It’s so hard to keep up with their milestones while making stunningly beautiful and unique pages to display it all! I have been scrapbooking for years. When my children were born, I had to figure out how to cram all the milestones and pictures I could into their books while still making them beautiful works of art that my children will cherish when they are older!  Here are some of the best scrapbooking tips I have discovered over the years!
 

1.      Keep it simple.

The first and most important realization I have come to is that every page doesn’t have to be a masterpiece. There are some people who are crafty with paper, and enjoy making each and every page of their scrapbook a glorious and detailed work of art. But most of us don’t have the time or the patience to work on a single page in a book for too long. Instead, make a few pages stand out, and make most of them simple or even sort of plain. Keeping a majority of the pages in your scrapbook simple allows your children to really shine from within its pages.


2.      Use smaller pictures.

I can’t really fit more than three or four 4x6 photos on a 12x12 scrapbook page. I also have so many pictures I want to include in my scrapbook that it would take 4 books to just get through documenting my baby’s first year of life! To save space, and include more content in each book, 90% of the pictures I include are wallet sized. I print these using my home computer because I believe at a photo lab you usually have to order an entire 8x10 sheet of wallets for each image you want. I only have quality 4x6 photos printed of my favorite pictures or the most important milestones.


3.      Don’t skimp on the journaling!

I want the scrapbooks I make for my children to be more than just pretty photo albums. I want them to tell the story of their lives. And just the most important bullet points won’t cut it for me. I want to document the silly little things that can’t be caught on film. The funny way my daughter cried when she was first born. “nnn-gaaa-aah”, how she loved to stand on kitchen chairs to reach the important papers under the magnets on the fridge at 14 months, the way she squealed with delight every time she saw the moon at night “Mommy! The moon is following me!”

Using the wallet sized photos really allows room for a lot more journaling. Just a few words or a short sentence as a caption is usually enough for me.


4.      Take advantage of technologies.

One of the reasons that parents have so much trouble scrapbooking is because they are busy taking care of their children all day and they are too tired to focus on it with their leisure time. I overcame this problem when I started planning my layouts on the computer. Most of the time and effort I put into my scrapbooks is dedicated to choosing photos, designing layouts, and journaling. This way I can get a lot of my scrapbooking done on the occasions when my children are enjoying a movie, playing nicely together, or napping. These events are usually short lived, and by the time I get all of my paper and pictures and stuff out, the kids are back to chaos and I barely got anything done! Also, the act of getting out any craft supplies gets their attention and it turns into kiddie craft time instead of mommy craft time! Working on the computer draws less attention from the kids and it’s easy to leave it and come back later and pick up right where I left off.

I use my computer to store and organize my photos, so I create folders for the pictures I want to include in my scrapbooks. I also use Microsoft Word to design the layout of my pages. I just set the page size to 12x12 and paste my images that have been cropped to wallet size (or just make wallet sized squares and put them where you want your images). I create text boxes for my journaling, and I write all the stories I want to include, and align them where I will include them on the pages.  This makes it easier when I do find the time to get out the craft supplies (typically when my girls are sleeping). All the thinking, planning and writing is already done, and I paste and scribble while I catch up on my shows!


5.      Don’t waste money on fancy embellishments.

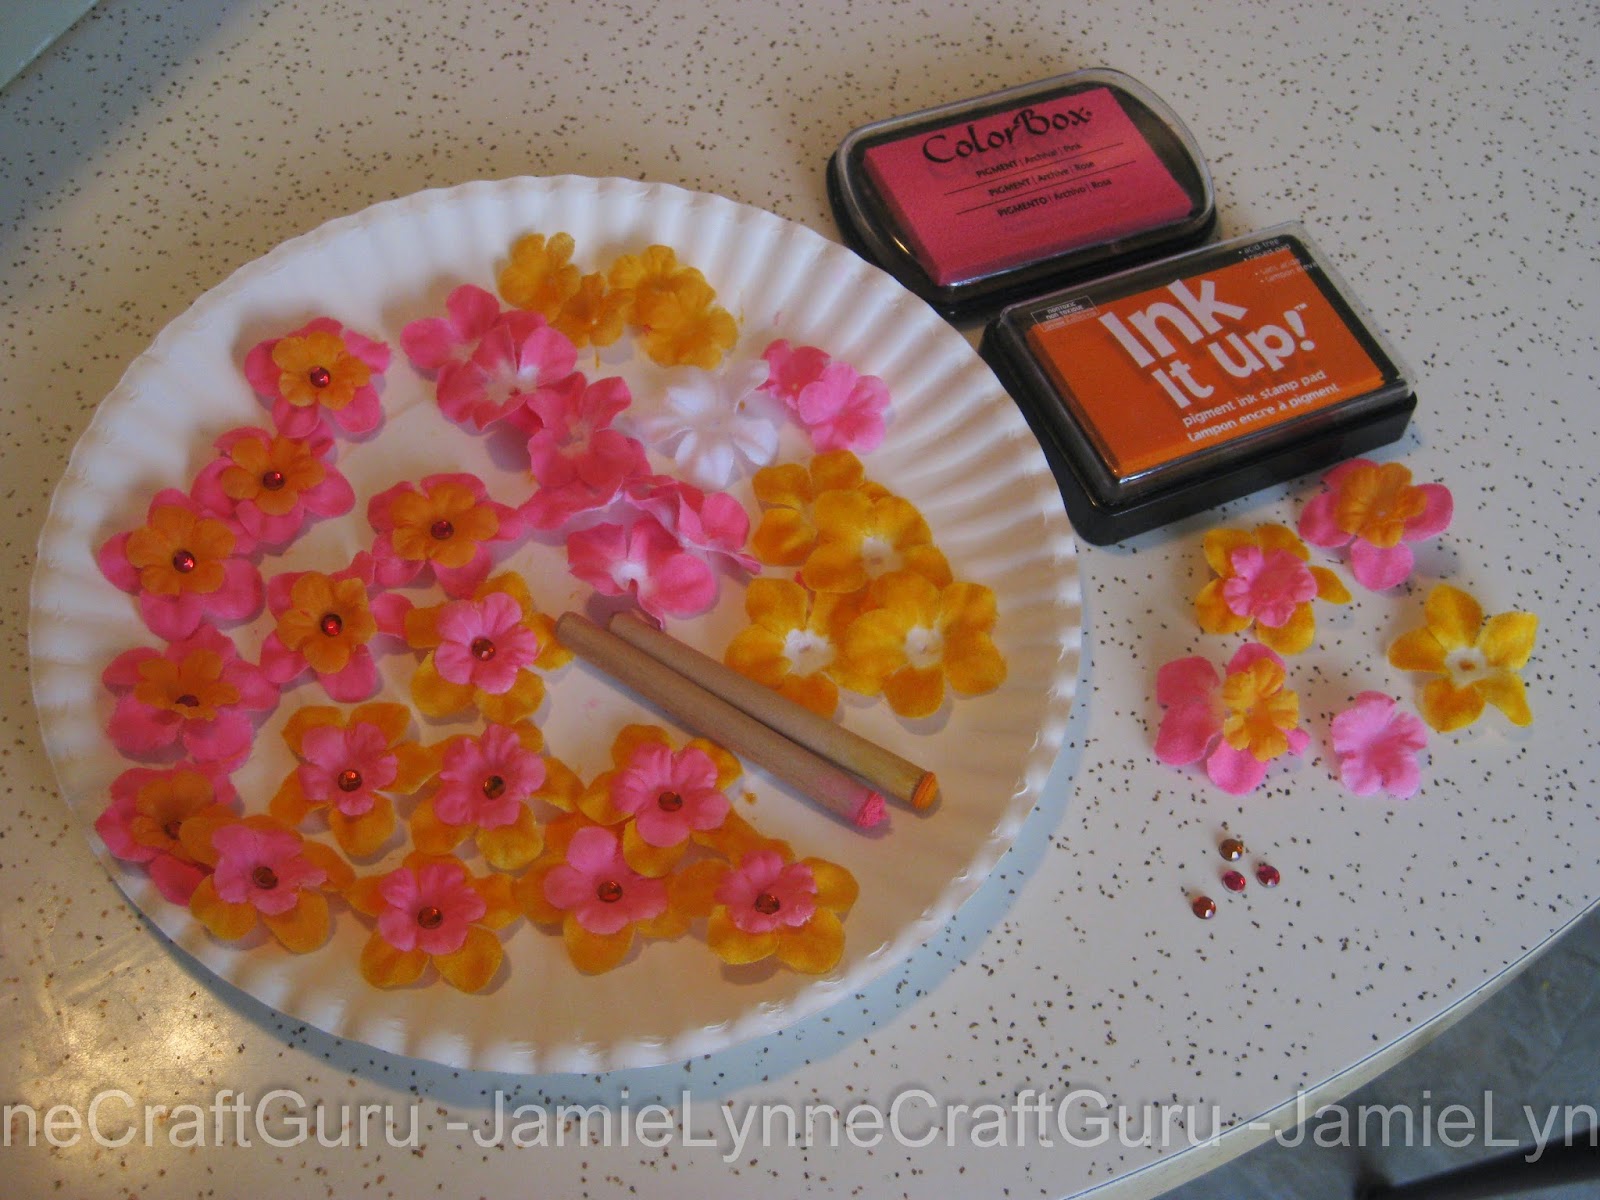
I love craft stores! And I can spend hours looking at all the stickers and flowers and fancy scissors and hole punches and stamps and expensive tools! But I only ever buy some when they are on sale- or they are just too perfect to pass up! Instead, I use Microsoft Word to make my own “stickers” by editing and printing free clip art! Here is my Tutorial : How To Edit Microsoft Word Clip Art   If you right click on the clip art you have selected, most of them can be edited and you can change the colors to match the page you plan to use it on. Another way to save money is to buy white embellishments (flowers, ribbons) in bulk and dye them with ink pads! If this idea intrigues you, check out this video of a very talented paper crafter demonstrating some amazing techniques! She starts making embellishments about at about 3 minutes into the video.

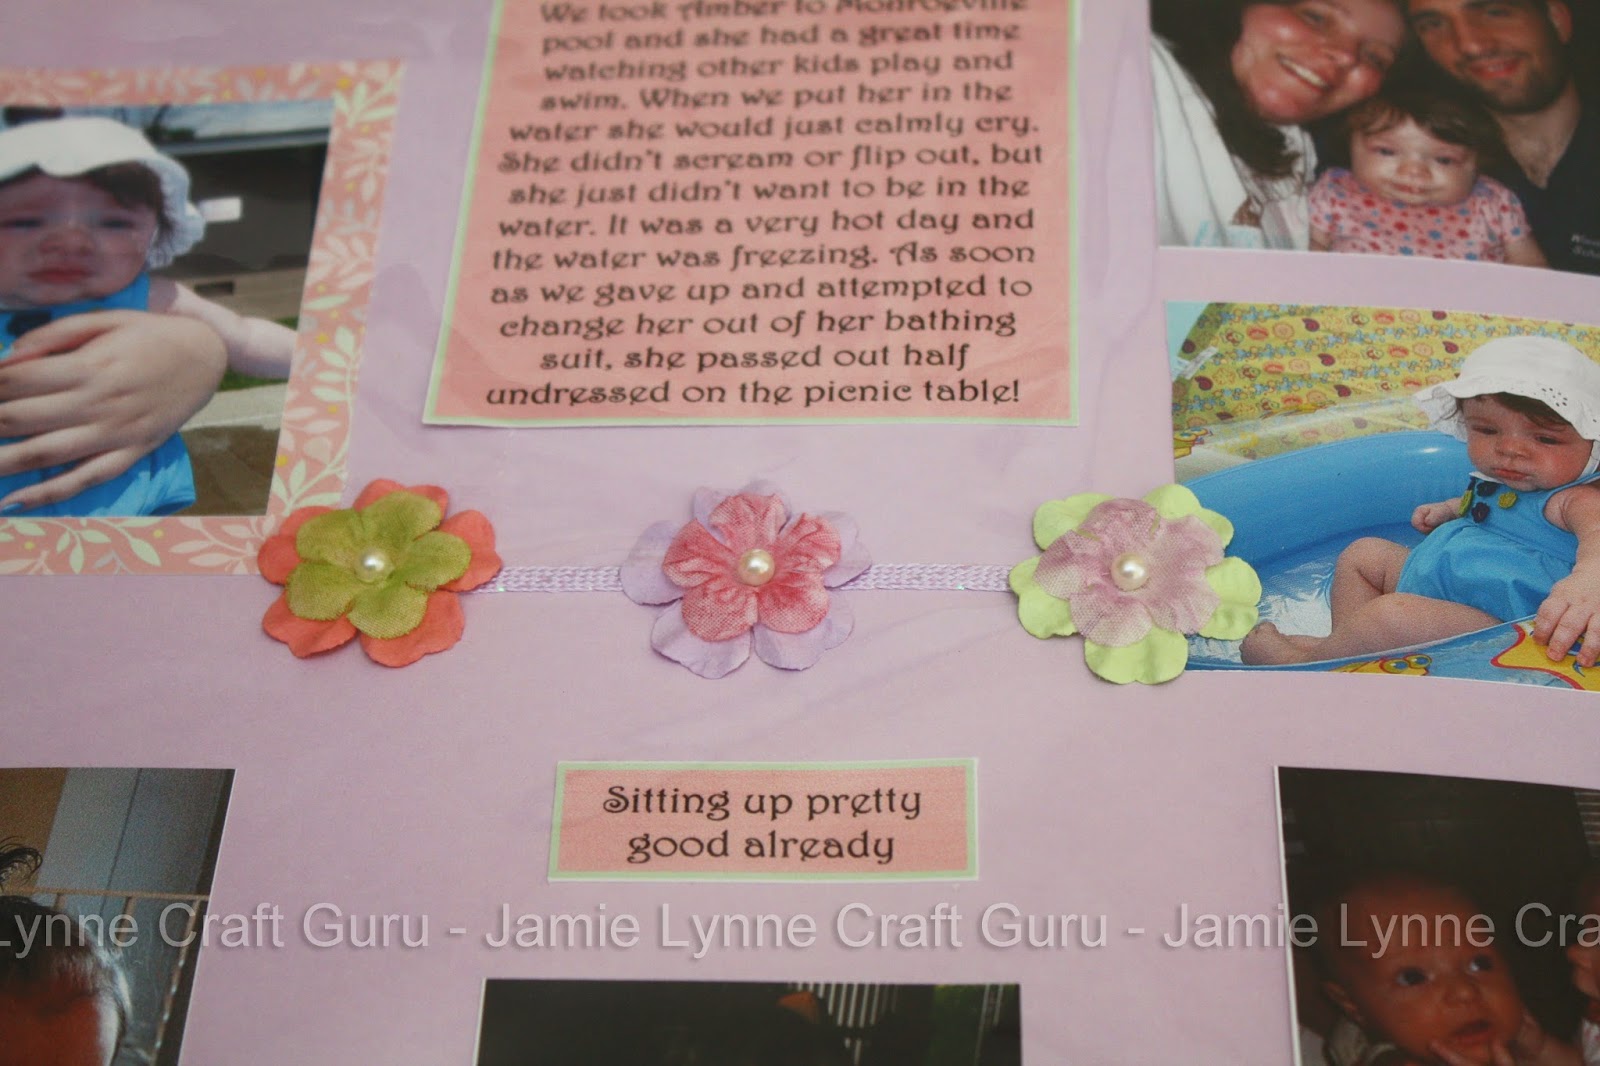
And here are some pictures of silk flowers I have dyed. I recommend trying to find flowers you like in the floral section of the store and pull them apart. They can be a lot cheaper than the flowers you can find in the scrapbook section!
 
 
6.      Use adhesive tape runners instead of glue sticks.

This one is probably not news to anyone who has done any scrapbooking recently and is no longer in kindergarten! But I have tried most of the adhesive tapes in my local craft store and my favorite is This to That Solid Adhesive Runner (the pink one). I find it sticks really well, but it’s not too sticky. I can often remove and reposition things on my page with little to no damage to the background page. And a little goes a long way!

7.      Buy Scrapbooks with expandable spines.

I want to include as much as possible in each of my scrapbooks, so that I don’t have a closet packed with books that no one ever has the time to look at when my kids are grown. In the scrapbook isle in the craft store, you can find the 12x12 clear sheet protectors just like the sleeves inside the scrapbooks. Most of these packs contain little screws for expanding your scrapbook to fit more pages. You unscrew the ones on your book and add one of the expanders onto the screw, add more clear pages and screw it back together. You can make your scrapbook much bigger this way! Be careful when picking out your book. Be sure to get one that has a spine that can be expanded. Some of the cheaper books have spines made of only paper, and the paper is not wide enough to allow more pages.


8.      Keep it balanced.

A good layout is one that is balanced and draws the eye over the entire page. To create balance, align your pictures symmetrically with larger pictures on the outside. Overlapping pictures can be cute, but it can easily be overdone and can cause your book to become too chaotic. Try to space out your pictures evenly and balance it out with larger embellishments. Get a little crazy with the smaller embellishments or stickers that won’t throw the balance off too much.


I hope these tips encourage anyone who is intimidated by scrapbooking to give it a try! Stick to what you know!

 If you are computer savvy- or into graphic design – or like me, you have mastered the formatting capabilities of Microsoft Word- Try some of these more intricate techniques I use:

I go to some extremes to make my scrapbooks look good while still being color coordinated and save money while doing it! The only thing I spend much money on for my scrapbooking is the 12x 12 papers. I buy a scrapbook paper “stack” I like and I take it home and get out my computer. Within Microsoft word, I make boxes and try to match the fill colors to the colors in my paper stack. I print them out and adjust the colors and tweak them until they print out as close to the colors in my paper stack as possible. Then I use those colors to fill and outline my text boxes I described using for my journaling. I print those right out and paste them into my scrapbooks, instead of writing out all of my stories again. I also use those colors to edit the clip art I use to make my own stickers.

Here are some examples of the stickers I have made for my scrapbooks:


Monday, July 14, 2014

My Perfect Royal Icing Glaze Recipe

Well as it turns out, I didn't have a hard time at all with finding my holy grail royal icing recipe! I had already tried one with meringue powder instead of egg whites, so I decided to try something different. Its actually more of a glaze than a royal icing, but it works the same and tastes way better! Everyone who ate them loved them and said they tasted as good as they looked!

 
After trying several different recipes, I decided to try one that was totally different. It's called Glossy Royal Icing but it is actually more of a glaze. It has no egg whites which I love and I feel better serving it to young kids and pregnant women. I am going to use it every time I make sugar cookies! Goodbye lumpy Jiffy Frosting Mix!!! :)
 
Check out my post about all the different types of Sugar Cookie Cutouts I have decorated !

Monday, June 30, 2014

Sugar Cookie Cut Outs!

I LOVE decorating cookies and cakes. Ever since I worked at the ice cream shop, I have loved decorating pastries! I first learned how to pipe decorations at Brusters, where I was taught to decorate ice cream cakes.
 
 Butterflies
 
Since I have been married, I have perfected some amazing cookie recipes! It doesn't matter how beautiful your decorating is if your cookie is not delicious! My all time favorite sugar cookie recipe is Betty Crocker's classic recipe that has been around for ever! They are perfectly soft, and delicious!
 
Fall sugar cookies I made for a wedding
 
 Pumpkins!
 
 Acorns!
 
Leaves!
 
 I always hated the way homemade icing tasted. I have never tried one I really liked, and that kept me from ever making any cut out cookies until I tried some of my Aunt Sandy's sugar cookies. The icing on her cookies was so good and it dried hard like royal icing so I asked her for the recipe. She told me she uses Jiffy's Frosting Mix! I used it for a long time on all of the cookies I have decorated. It tastes good and its very easy to prepare- you only add water! However, it always turns out very lumpy and I have a hard time using decorating tips with that icing. Also, its not very white, its actually sort of off white, so colors turn out a little different with it. I used it for all of the cookies pictured here so far.
 
Some simple flowers!
 
I finally attempted my first home-made icing recipe and right after I whipped it together I loved the taste of it! I decorated a bunch of cookies for a baby shower and the icing was very easy to use. It was very white, which I really liked. It was also very smooth and easy to use with my decorator tips! It also got really hard like a royal icing is supposed to.
 
 Onesies and pacifiers!
 
I loved the swirling details on the bibs and strollers!
 
 Baby Rattles!
 
Then at the baby shower I noticed the icing was too hard. Way too hard! Someone at the shower told me that's just the way royal icing is. So I am on the hunt for the perfect royal icing recipe! I will share any adventures I have on this hunt :)


Check out the winning recipe on this post My Perfect Royal Icing !
 

Monday, May 19, 2014

Shower Crafts I have made for gifts

Making something is one way to say 'I love you'. So whenever I have a chance, I like to make gifts. This is ALWAYS the case with baby showers and bridal showers. Occasionally, if I know a Mommy-to-be needs help, I will buy something off of her registry as well. But everyone loves a hand made gift! Here are some shower gifts I have made in the past...
 
 
For my own baby shower, we used a pastel butterflies theme and I made this Butterfly Diaper Cake! I used over 100 size 1 diapers, tulle, baby socks, flowers and ribbon as well as some hand painted nylon butterflies I made. This picture has been getting repined like crazy on Pinterest. At the time this post was written it was at 127 repins and it is being pinned about 3 times a day!  I also used a smaller version of the butterflies in my daughters nursery.. I am working on a tutorial for how to make them that I will hopefully post in the near future so check back for it!

 
I also made smaller versions of the diaper cake for each table. Diaper Cupcake Table Centerpieces!
so cute...

 
Each Diaper cake is topped with a baby sock flower arrangement!

 
I also made a Baby Sock Flower Bouquet as a baby shower gift for a special mommy-to-be!
 
 
little baby sock flowers are just so sweet! I learned a little about how to make these from a video by Martha Stewart and combined the techniques with some of my floral crafting skills.

 
Then I started making Diaper Wreaths. They were such a big hit and so much easier to transport and carry into the party.
 
 
I used a hooded towel as the center for this Blue and Green Diaper Wreath for a baby boy! The Mommy has told me it is still hanging in the boys room even though he is about 5 years old now!

 
I also like to use a cuddly stuffed animal blanket for a center like I did with this Pink and Purple Diaper Wreath for a baby girl. Then I embellish them with little toys, rattles, teethers or rubber ducks are perfect! I also like to buy the little Johnson & Johnson sampler box and attach the tiny bottles of shampoo or lotions to the wreath.

 
Sometimes I get lucky and I find a few cute little plushies or bath squirters that match the theme or color like I used with this Winnie the Pooh Diaper Wreath! Then I tie each diaper and each little toy with curling ribbon and curl each and every piece!
 
I don't remember what tutorial I learned to make these from but here is a good example of one for anyone who wants to learn how they are made. This diaper wreath tutorial most resembles the wreaths I make. You can use most anything for the circle. I have used several different things and I prefer the styrofoam circle the best! I always use size 1 diapers.
 
For bridal showers, I do a different version of a cake. The Towel cake! They are especially appropriate for bridal showers because they resemble wedding cakes! When a bride-to-be shares their registry information, the first thing I look for is towels! I buy whatever towel they have on their registry and I revolve the theme of my cake around their color!


For this Blue and Silver Towel Cake, the bride and groom had teal and grey towels on their registry. Some of the towels were solid colored and some were striped so I bought a few of each and made this beautiful towel cake! I especially loved the topper I made with flowers and ribbons that matched the towels!


I also made a Fall Towel Cake for a bridal shower I threw for my best friend. She did not make a registry but I bought her some brown towels that really made the fall leaves and flowers pop off this bridal shower decoration!
 
 
I sometimes like to make little Kitchen Towel Cakes for housewarming gifts as well. Instead of bath towels and hand rags like the shower cakes, they use kitchen hand towels and dish rags! I made this one for a family member of mine who had not yet decided what color her kitchen was going to be decorated. I embellished it with gripper pads that I rolled into flower shapes and some kitchen utensils. Hidden inside was a small can of coffee and a little bottle of creamer!


When my cousin had her housewarming party in late fall, I got a discounted scarecrow in a flower pot decoration and some garland with gourds and pinecones that I used to embellish this towel cake. Hidden inside of it was also a canister of candy corn!


I don't think anyone makes towel cakes quite the way I do, so I will have to post in the future about how I make them the next time I get to make one! Hope this post gives you lots of ideas for future shower gifts you can make yourself :)


Thursday, May 15, 2014

Blue and Brown Granny Square Afghan Finished!!

I finally finished my granny square afghan ! It took me 40 hours or so to complete it over the course of two months! It feels like such an accomplishment to finish one! My aunt loves it, she says "It's beautiful and matches my living room perfectly!"  ...Makes it worth every hour I spent working on it!!
 
 
Check out my post about how I began this project for type of yarn and colors used.
I just love the randomized layout of the squares! I'll let you know a secret, it was less random and more planned out than you might think! I started out by making an equal number of squares in each color, but after I had made about 2/3rds of the squares I would need, I spaced them out on the floor to check how the layout would look. I actually made a LOT more tan squares than colored squares so as to spread the color out nicely without making it look like a checkerboard. I filled in most of the blank spaces in this photo with tan colored squares :
 
 
I attached the squares together using a slip stitch method. In the past I have always sewed my squares together with a yarn needle, but I really like the dimension that slip stitch joining adds to the blanket.

 
You can see the raised edges around each square better in this picture:

 
I made 88 squares total for this blanket to get the size I wanted. The finished size is  45"x61" actually a little bigger than the size I was going for! :)